Starting Solr
This topic assumes you have already completed the following steps in regards to the installation of Solr on your KommerceServer web server.
- Install Java on your web server (skip this step if Java is already installed).
- Install version 5.4.1 of Apache Solr.
- Create a core directory on the Apache Solr UI.
- Copy core configuration files to your Solr directory.
- Update the db-data-config file with your database connection information.
Once the above steps have been completed, perform the following steps to start Solr.
- Open a Command Prompt window on your web server. The Command Prompt window appears.

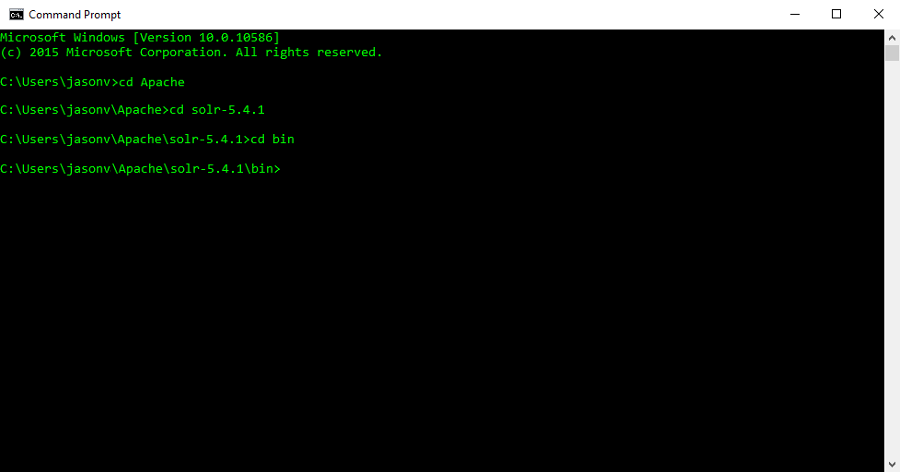
- Using the Command Prompt window, navigate to the directory that you placed your Solr files in.
- Navigate to the bin directory. Your results will be similar to the following example.
- Type solr start and press the Enter key. The Solr software starts.
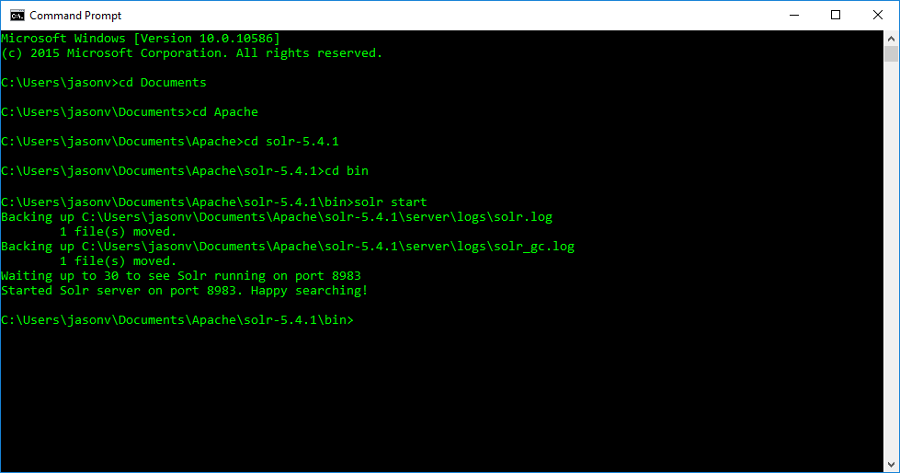
If the window displays an error, refer to the Troubleshooting Solr topic.
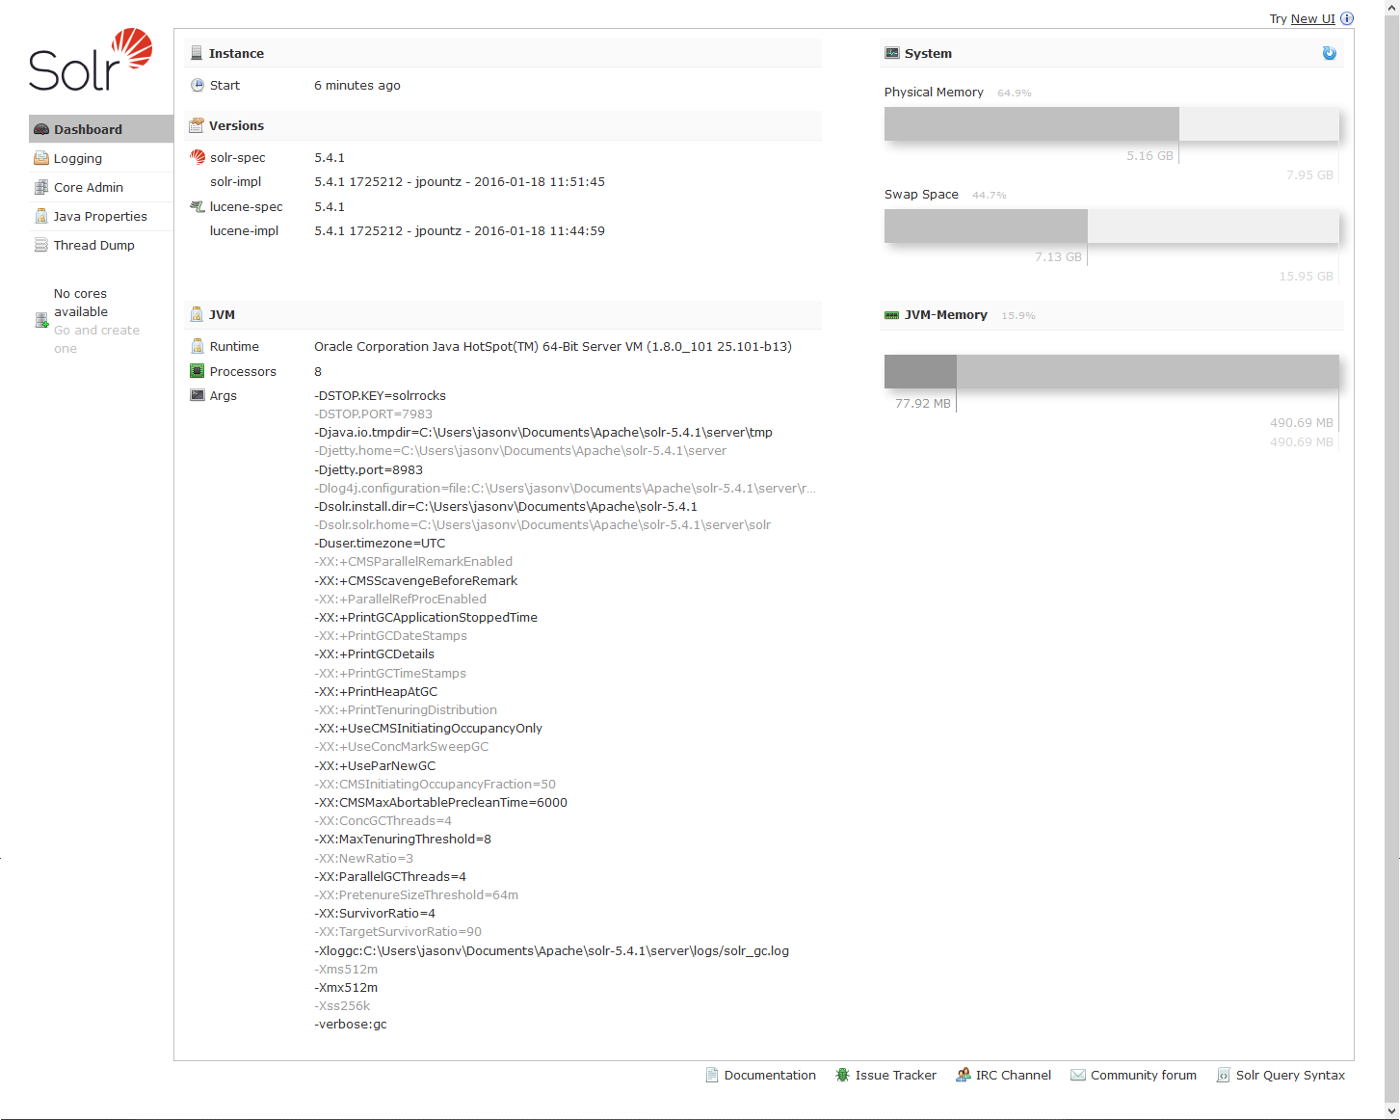
- Open a web browser and navigate to the following URL: http://localhost:8983 The Solr Administration page opens.